Friday, 24 August 2012

NOTD: Barry M Foil Special Effects- Part 2

So here is my second and concluding part of the posts covering the Barry M trio of Foil Special Effects Nail Paints. Today's nail post is Lilac Foil, which is also a limited edition nail paint. (The gold and silver foils, I assume to be permanent).


Barry M Lilac Foil with Lavender glitter top coat.


Close up shot.
 
For some reason, the Lilac Foil applies better than the Gold and Silver foil nail paints. The formula doesn't seem as streaky. That said, it maybe isn't as foil-like as the other two paints, as this seems to have a very fine silver shimmer to it. You can see this in the close up shot.
 
The Lavender top coat is a clear base with micro fine silver glitter and lilac coloured square glitter particles. I absolutely freakin' love it. It looks great layered over black, but now that I've layered it over the Lilac Foil, this may now be my favourite combo with it! I didn't want it on all of my nails though- I still wanted to be able to see the beautiful foil paint. <3
 
Have you guys tried either of these? What is your favourite glitter polish of all time?


50 Shades of Birthday Party!

...no, its not me that's 50, its my mum. Last Saturday she reached the landmark of half a century young, and my family and me threw her a party to celebrate in style!

Of course, there was no way I was celebrating without my nails painted! However, just lately my nails have been in absolutely shocking condition, so I decided that for this special occasion, I would apply some stick-on nails (which normally I try to steer clear of), and paint them in something sparkly!


No 7 Stay Perfect Glitter Top Coat in Gold
layered over Barry M Special Effects in Gold Foil.


So what do you guys think? Personally I was really impressed with the stick on nails. I used Broadway Real Life Nails in the Short length, and with the exception of the nail on my middle finger which looks kinda bulky, all the other nails look rather natural! Impressed. The nails were also really easy to apply, as they had numbered tabs which could then be snapped off once the false nail had dried to you nail. Simple, and less mess. Thumbs up from me!
 
I absolutely adored the polish combo. Gold foil effect and glitter? Yes and yes. 'Nuff said.
 
I also decided to make a cake for my mum. Although I'm not so confident in my cake making skills that I wanted this to be her main birthday cake, I certainly wanted to create something extra special.
 

My mum's birthday cake!


By the way, the cake was delicious! Sponge with buttercream and raspberry jam. It was awesome with a cuppa!

And, here's some snaps of me and the Birthday Girl herself. Don't you think we look alike?


Me and Mum are rocking dresses from Dorothy Perkins.
Chloe's dress is from Primark.


Just thought I'd show off a cute pic of my daughter!
 
So, how have you guys been? x

Tuesday, 14 August 2012

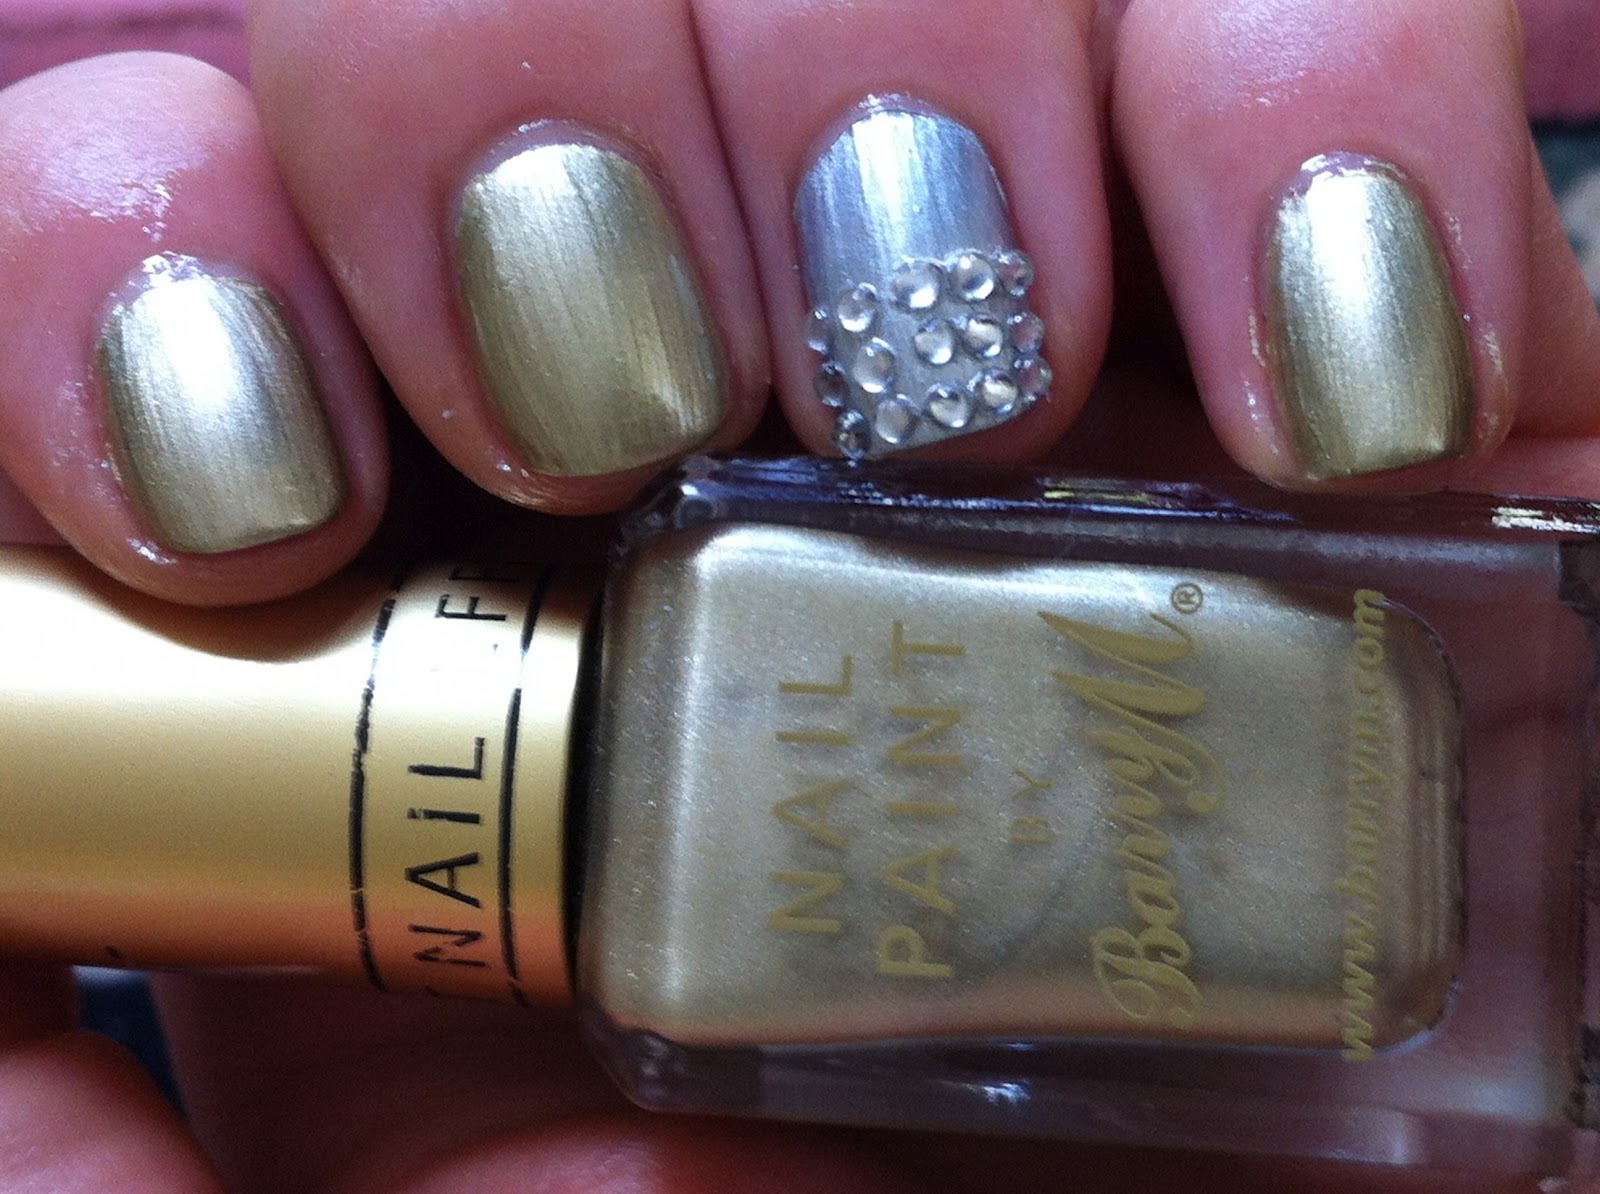
NOTD: Barry M Foil Special Effects - Part 1

It seems to me that Barry M are the authority on special nail effects, particularly so in the high street cosmetics sector. While their most recent additions to the Special Effects range include the Magnetics and the Chameleons, I want to show you a manicure I did with the Foil Special Effects nail paints that were released last year.


I used Nail Paint in Gold Foil on all my nails apart from my ring finger, on which I used Silver Foil as an accent. I then stuck some diamontes on using a clear top coat. I didn't cover the full nail in these because I still wanted to show just how beautiful the nail paint is! The nail paints applied smoothly, however I would advise to take your time with these and apply thin coats, as they bubble easily. Also, try to use an even applying motion, otherwise you will end up with brushstrokes!


Have you guys tried these Nail Paints? What's your favourite Barry M Nail Paint of all time? 

Monday, 13 August 2012

MAC Electric Cool Eyeshadow

MAC have recently released a collection of eyeshadows that have the most unusual texture! The Electric Cool range has a consistency that is somewhere between a foam and a gel. Not dissimilar to L'Oreal's Color Infallible eyeshadows, but slightly more moist. Kinda bouncy. There were 12 different colours in the range and I plumped for Fashion Circuit, a bright shimmery teal green colour.


Without flash


With Flash


To show just how bright and shimmery Fashion Circuit is, I took some pictures in direct sunlight.


Other products I used are: Urban Decay Primer Potion in Eden, Urban Decay 24:7 eyeliner pencil in Zero, Benefit Magic Ink Liquid Liner, and two shades from Urban Decay's Naked Palette (the first palette) in Virgin and Creep. My lashes are some Girls Aloud Festival Lashes that I've had for a while but not used. Brows are done with Benefit Browzings in Medium.

I really enjoyed using this shadow, the texture is out of this world and is loaded with pigment. I have read some reviews in which other bloggers have found the more neutral Electric Cool shades to be quite poor in pigment, but Fashion Circuit was nice and bold. I think the way these shadows are applied make all the difference: try packing the colour on with a stiff bristled brush as opposed to a fluff brush, and use in a patting motion, as opposed to sweeping the colour on.

Have you tried the Electric Cool shadows? Are you loving or leaving them?

Thursday, 14 June 2012

Dior Summer 2012 La Croisette Swatches and Review

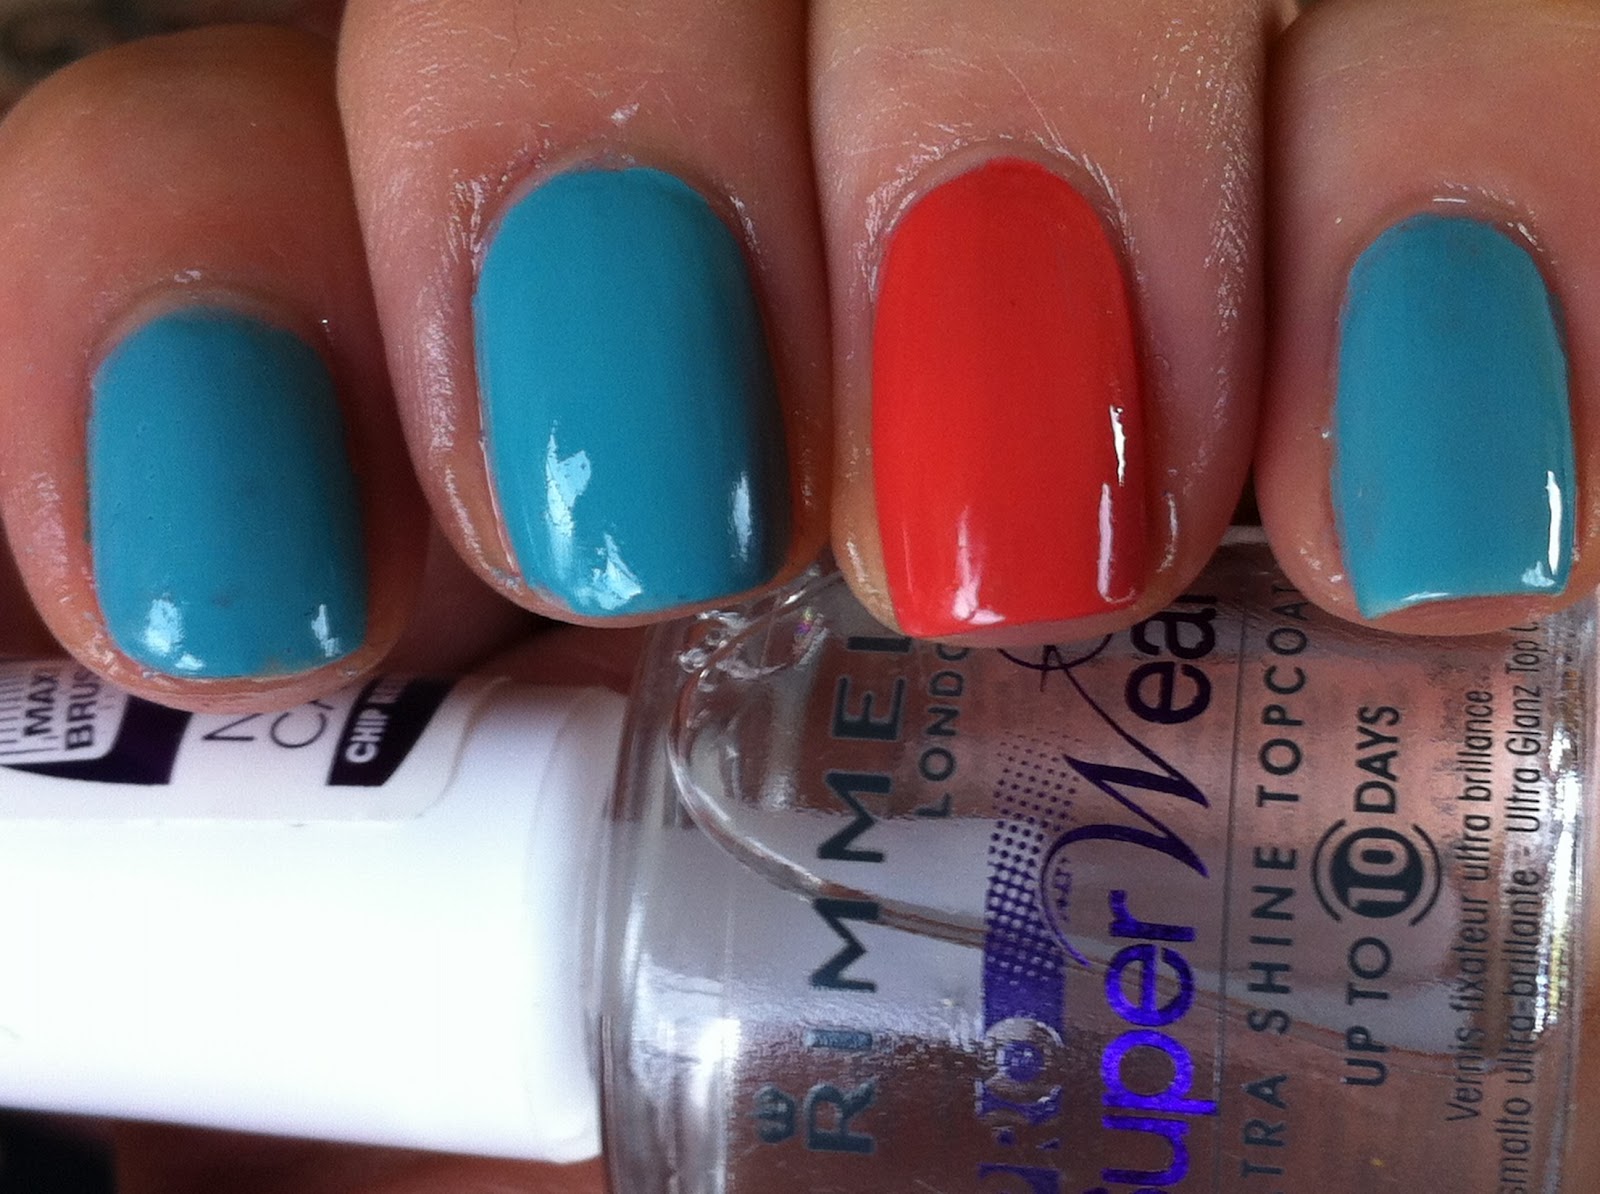
I recently had the opportunity to try the Dior Summer collection, this year called 'La Croisette.' Like the Spring 'Garden Party' collection, there are two nail varnishes, with with I did this accent nail manicure:-


Accent nail: Shade 231 Bikini
Other nails: Shade 401 St. Tropez

Wow, these colours literally scream summer! Bikini is a hot coral colour and St Tropez is a robin's egg turquoise colour. Both varnishes have no shimmer, but are super saturated in pigment making them really bold on the nails. The brush on these is the usual Dior flat brush that applies colour to the nail in one stroke. The application on these was smooth- no dragging, pooling or gathering around my cuticles. I only had to use two coats to reach maximum opacity, which is always a good thing.

I absolutely love these two colours! St Tropez is especially pretty, as it is so close to being a perfect robin's egg blue colour. There is also a matching eyeliner in this shade in the La Croisette collection that may just have to be purchased at a later date!

Have you tried any of the La Croisette collection?


Monday, 11 June 2012

Jubilation Celebrations

Hey everyone!

Well, unless you were living under a rock, you will know that it was the Queen's Diamond jubilee last week. The UK was awash with jubilee limited editions of virtually everything. Vaseline lip therapy, M&Ms, Clarins Hand Lotion.... the list goes on (and on.)

Anyways, the one limited edition product that struck my eye was the gorgeous, glittering Nails Inc Jubilee top coat. Observe:-


I took pics of Jubilee in various different lights so you guys can see just how beautiful it is! Jubilee is a red, blue and silver glitter in a clear varnish. I layered it over some blue, red and white nail paints to achieve a full on, patriotic look! These varnishes are: Rimmel I <3 Lasting Finish in Azure (blue), Nails Inc Milan (red) and Barry M Nail Paint in Matt White. I particularly love how Jubilee looks layered on top of the Matt White, as it really makes the colours of the glitter 'pop'.

And of course, the jubilee celebrations wouldn't have been complete without cake! I recently received a Jubilee special edition of Cake Decorating magazine, which had these beautiful cupcake wrappers and flags, and Sainsburys had the blue, red and white non-pareils on special offer! Here are my home made Jubilee cupcakes:-


So I'd like to know, how did you celebrate her Maj's jubilee?

Friday, 1 June 2012

Another 99p manicure!

Remember the star spangled manicure that I did here? Well, I was in my local branch of discount bookstore The Works and was rummaging around the crafts section when I find these:-


Wiggle eyes! Or Goggly Eyes, which is what I know them as1 I used to make silly greetings cards with these stuck on them when I was in primary school! Fast forward 21 years and I still have a use for these little suckers...


My Monster Mani!


Here are the varnishes that I used: Pinky finger - No 7 Stay Perfect Poolside Blue, Ring finger- OPI Did It On 'Em, Middle finger- Rimmel 60 Seconds Blue My Mind, Index finger- Ciate Paint Pot Jelly Bean.


I don't know why my pinky looks so solemn! 


Monsters Inc was the inspiration behing my ring finger.


What'ya lookin' at?

Needless to say, this was the easiest mani to do! A lick of paint, and then a tiny bit of nail glue to fix the eyes down! I used the Models Own nail art pens to add the details. Simples!

There was also a pack of wiggle eyes with eyelashes available at The Works so keep your googly eyes on my page to see them soon!