Showing posts with label Barry M. Show all posts

Wednesday, 13 November 2013

Barry M Limited Edition Nail Paint Collection 2013

Nobody does a limited edition nail polish better than Barry M, in my humble opinion.

It's normally in the Summer and in the months directly before Christmas, that we get the Limited Edition collections, and I have the Winter 2013 polishes to share with you today. I reviewed the Winter 2012 polishes last year, and you can read that post here.

In the same setup as last year, there are four limited nail paints, two of which are exclusive to Boots stores, the other two exclusive to Superdrug. Seems fair!


Gold Dust and Fairy Lights are the polishes exclusive to Superdrug, whereas Tinsel Town and Silver Lights are exclusive to Boots. Each store basically then has one holographic glitter top coat and one metallic feather top coat. Below is the Barry M promo picture- sparkly goodness all around!

I have some close up shots for your viewing pleasure too!


Fairy Lights- a pink mix holographic glitter topcoat


Tinsel Town- a purple, green and red metallic feather topcoat


Silver Lights- a silver holographic glitter topcoat


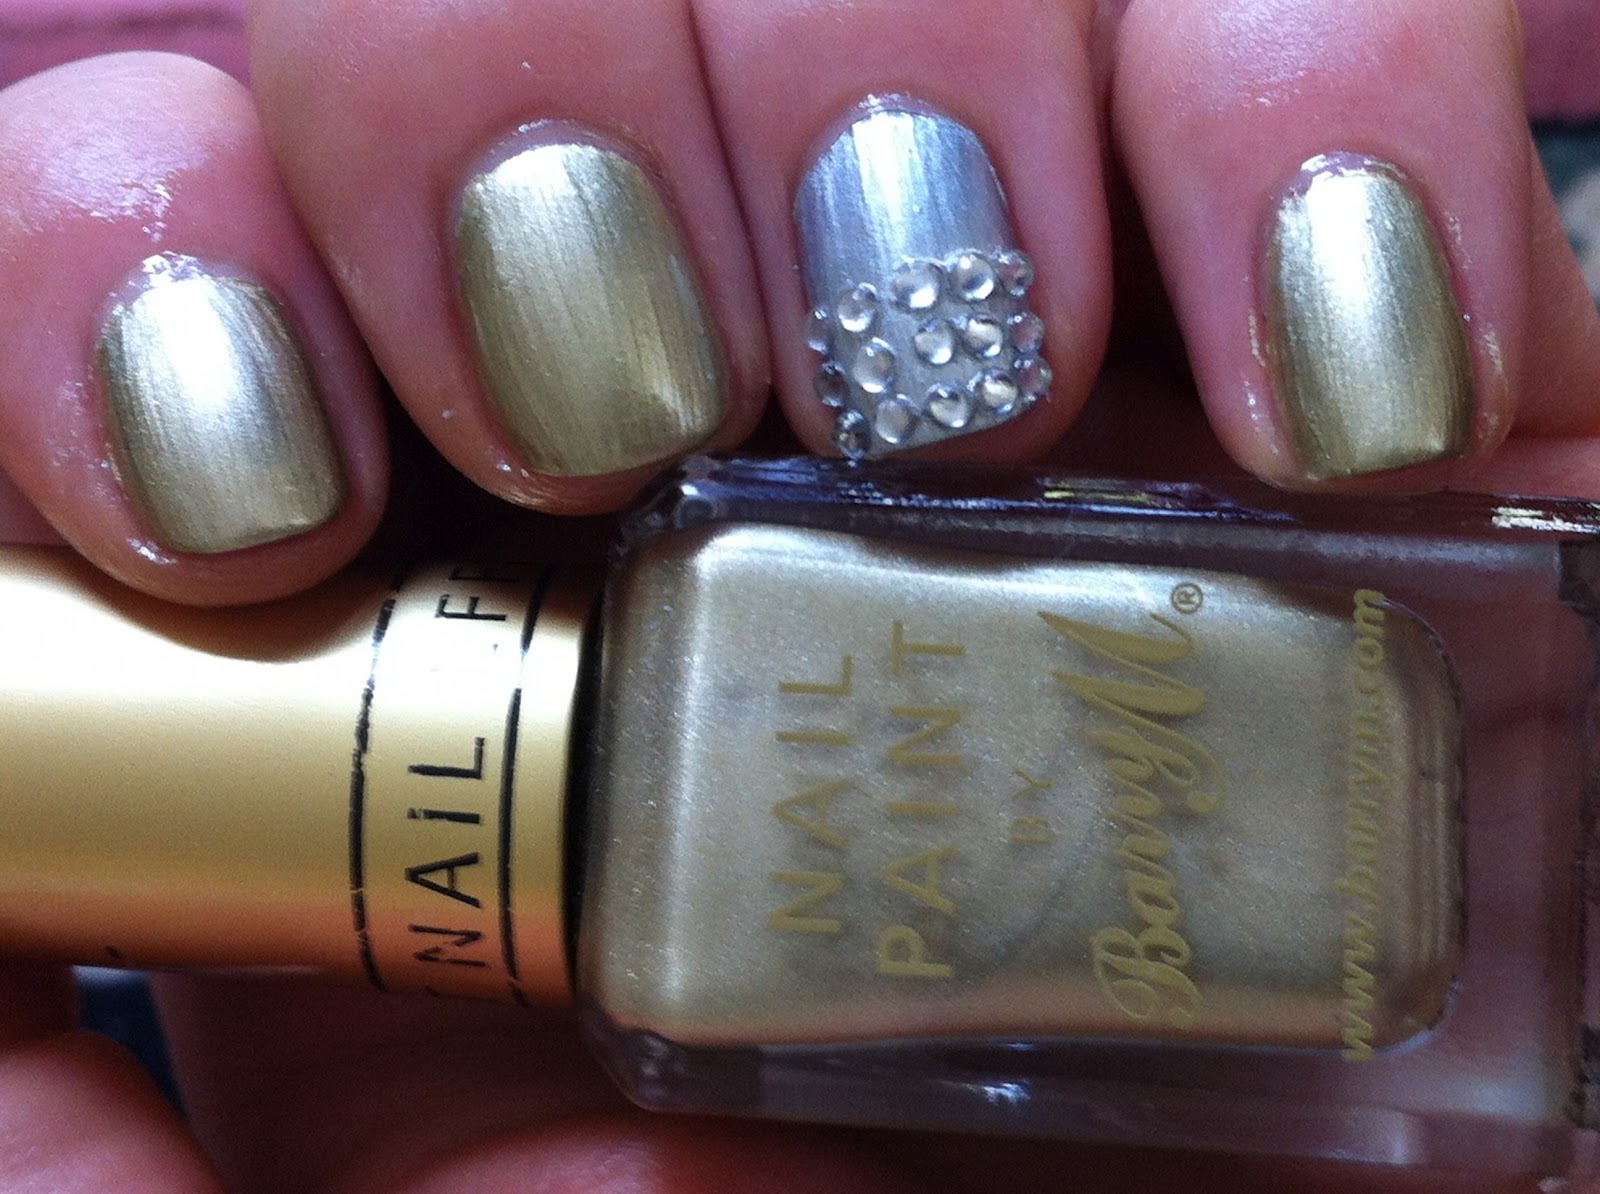
Gold Dust- a copper mix metallic feather topcoat

My personal favourite is Tinsel Town, as I have pretty close dupes already in my collection for the other three polishes. These polishes would also make a really cool gift for someone. I know I would love it, if someone gave me these in a cute little gift box!

Have you seen any of these nail paints in store yet? Did you pick any up? Let me know in the comments section!!

Wednesday, 2 January 2013

Barry M Xmas Limited Edition Nail Paints

Hey y'all!

First of all, a super big apology for not blogging in a while. I've kinda made it my New Year resolution to dedicate more time to my little space of the internet!! So for my first post back, I have a real treat!

You may have spotted these four polishes in Boots and Superdrug over the festive period. Barry M were offering a free limited edition nail paint when you spent over £6 on Barry M make up. Easy done, right? Boots' two nail paints were a metallic gold and a metallic pink, whereas Superdrug's two were a metallic teal and a glitter topcoat. Let's take a look:-


Boots Limited Edition Nail Paint 2012-A


Boots Limited Edition Nail Paint 2012-B


Superdrug Limited Edition Nail Paint 2012-A and 2012-B

My favourite combination? Easily the Boots metallic gold with the Superdrug glitter top coat layered on top. That said, I loved all of these nail paints, and I'm gutted they're limited edition! I loved the metallic finish- if you click to enlarge the pictures, you'll see that they're not like the regular Barry M Metallic Foil nail paints. These have a gold fleck in them, making them look like sweet wrappers on the nail! 

The formula on the glitter top coat was fine, I used two coats of it on all of these manis. The metallic nail paints went on quite thick, so just use thin coats or you will experience bubbling. On a separate note, the blue and pink polishes were a pain to get and accurate picture of! Not entirely the polishes' fault, I hate how we in the UK are only getting about six hours of decent sunlight at the moment!

I'd love to read your thoughts on these, and how you painted your nails over New Years!


Tuesday, 11 September 2012

31 Day Challenge: Day 11- Polka Dots

Hey guys!

Sorry for missing yesterday's challenge! I will make it up to you and do a gradient mani at some point in the near future. Today's challenge however, is Polka Dots and it just so happens that I recently bought a set of dotting tools!

 
Q. Which Disney character inpired this mani?

 
Minnie Mouse!
 
 
I loved using my new set of dotting tools! Ah, I am going to have endless amounts of fun using them. I always think that Polka Dot manis are simple, but still striking and effective. They are also easy to master for beginners in nail art.
 
I really must apologise for the quality of pictures today- they have been taken under artificial light. The nights are drawing in here in the UK which can only mean one thing- Fall is a'comin'!! :)

Friday, 7 September 2012

31 Day Challenge: Day 7- Black & White

Hey guys!

I have seriously been looking forward to today's challenge! I personally think black and white on nails looks uh-mazing! I also bought the most beautiful black nail varnish the other night- have a little look:-


Illamasqua nail varnish in Creator.


Creator is a black jelly base in which irregular shaped silver glitter is suspended. It looks good at two coats, however it looks great with three, which is what you see here. Its quite a runny nail varnish, so be sure to apply a small amount on the nail to work with so it doesn't end up pooling in your cuticles.
 
Despite it being a glitter polish, Creator dries smooth. Drying time is also pretty quick with Creator.


Above picture: Creator in direct sunlight.


I love how the glitter is not uniform in Creator-
you can especially see this in the bottle.


So on my ring finger I did a little taping experiment! I have never tried a taping mani before, so I thought I'd keep it simple with stripes. I painted my nail in Barry M Nail Paint in Matte White and let it completely dry. I then cut some scotch tape into thin strips. I placed these strips onto my skin first, to take away some of the 'stick' so that when I placed them onto my nails, they didn't pull away the white paint. I then painted Creator on the places where there wasn't tape. When Creator was still tacky (but not wet), I gently prised away the tape. I then painted a border around my nails using Creator and a nail art pen.
 
Once everything was completely dry, I applied a glossy top coat. I then applied six diamantes, using top coat as an adhesive and a fine nail brush to apply them. Here's an obligatory close up shot:-


Friday, 24 August 2012

NOTD: Barry M Foil Special Effects- Part 2

So here is my second and concluding part of the posts covering the Barry M trio of Foil Special Effects Nail Paints. Today's nail post is Lilac Foil, which is also a limited edition nail paint. (The gold and silver foils, I assume to be permanent).


Barry M Lilac Foil with Lavender glitter top coat.


Close up shot.
 
For some reason, the Lilac Foil applies better than the Gold and Silver foil nail paints. The formula doesn't seem as streaky. That said, it maybe isn't as foil-like as the other two paints, as this seems to have a very fine silver shimmer to it. You can see this in the close up shot.
 
The Lavender top coat is a clear base with micro fine silver glitter and lilac coloured square glitter particles. I absolutely freakin' love it. It looks great layered over black, but now that I've layered it over the Lilac Foil, this may now be my favourite combo with it! I didn't want it on all of my nails though- I still wanted to be able to see the beautiful foil paint. <3
 
Have you guys tried either of these? What is your favourite glitter polish of all time?


50 Shades of Birthday Party!

...no, its not me that's 50, its my mum. Last Saturday she reached the landmark of half a century young, and my family and me threw her a party to celebrate in style!

Of course, there was no way I was celebrating without my nails painted! However, just lately my nails have been in absolutely shocking condition, so I decided that for this special occasion, I would apply some stick-on nails (which normally I try to steer clear of), and paint them in something sparkly!


No 7 Stay Perfect Glitter Top Coat in Gold
layered over Barry M Special Effects in Gold Foil.


So what do you guys think? Personally I was really impressed with the stick on nails. I used Broadway Real Life Nails in the Short length, and with the exception of the nail on my middle finger which looks kinda bulky, all the other nails look rather natural! Impressed. The nails were also really easy to apply, as they had numbered tabs which could then be snapped off once the false nail had dried to you nail. Simple, and less mess. Thumbs up from me!
 
I absolutely adored the polish combo. Gold foil effect and glitter? Yes and yes. 'Nuff said.
 
I also decided to make a cake for my mum. Although I'm not so confident in my cake making skills that I wanted this to be her main birthday cake, I certainly wanted to create something extra special.
 

My mum's birthday cake!


By the way, the cake was delicious! Sponge with buttercream and raspberry jam. It was awesome with a cuppa!

And, here's some snaps of me and the Birthday Girl herself. Don't you think we look alike?


Me and Mum are rocking dresses from Dorothy Perkins.
Chloe's dress is from Primark.


Just thought I'd show off a cute pic of my daughter!
 
So, how have you guys been? x

Tuesday, 14 August 2012

NOTD: Barry M Foil Special Effects - Part 1

It seems to me that Barry M are the authority on special nail effects, particularly so in the high street cosmetics sector. While their most recent additions to the Special Effects range include the Magnetics and the Chameleons, I want to show you a manicure I did with the Foil Special Effects nail paints that were released last year.


I used Nail Paint in Gold Foil on all my nails apart from my ring finger, on which I used Silver Foil as an accent. I then stuck some diamontes on using a clear top coat. I didn't cover the full nail in these because I still wanted to show just how beautiful the nail paint is! The nail paints applied smoothly, however I would advise to take your time with these and apply thin coats, as they bubble easily. Also, try to use an even applying motion, otherwise you will end up with brushstrokes!


Have you guys tried these Nail Paints? What's your favourite Barry M Nail Paint of all time? 

Monday, 11 June 2012

Jubilation Celebrations

Hey everyone!

Well, unless you were living under a rock, you will know that it was the Queen's Diamond jubilee last week. The UK was awash with jubilee limited editions of virtually everything. Vaseline lip therapy, M&Ms, Clarins Hand Lotion.... the list goes on (and on.)

Anyways, the one limited edition product that struck my eye was the gorgeous, glittering Nails Inc Jubilee top coat. Observe:-


I took pics of Jubilee in various different lights so you guys can see just how beautiful it is! Jubilee is a red, blue and silver glitter in a clear varnish. I layered it over some blue, red and white nail paints to achieve a full on, patriotic look! These varnishes are: Rimmel I <3 Lasting Finish in Azure (blue), Nails Inc Milan (red) and Barry M Nail Paint in Matt White. I particularly love how Jubilee looks layered on top of the Matt White, as it really makes the colours of the glitter 'pop'.

And of course, the jubilee celebrations wouldn't have been complete without cake! I recently received a Jubilee special edition of Cake Decorating magazine, which had these beautiful cupcake wrappers and flags, and Sainsburys had the blue, red and white non-pareils on special offer! Here are my home made Jubilee cupcakes:-


So I'd like to know, how did you celebrate her Maj's jubilee?

Monday, 23 April 2012

Saint George's Day mani

Happy Saint George's Day everybody! I created this super simple mani using Barry M nail paints and a Rio Beauty nail art pen.


On the ring finger I used Barry M nail paint in Matt White. Once thoroughly dry, I then used the Rio nail art pen to draw a simple cross. I then used Barry M nail paint in Red Glitter to make it 'pop'. On all my other nails is Nails Inc in Milan, topped with just one coat of the Barry M Red Glitter. I love the glitter varnishes by Barry M, they apply really well and are packed with sparkle.


In direct sunlight to show just how sparkly this Barry M
 nail paint really is!

Non-direct sunlight. I just love this nail paint!

Wednesday, 7 March 2012

Food Inspired Nails Part 1- Strawberry Cheesecake Cupcakes

Hey guys, sorry for my absence, I have recently been visiting my family up in the North West, in a small town named Congleton. You may have heard of it, but you probably won't have. (It's that small)
Anyhoo, Mr Claw requested some Strawberry Cheesecake Cupcakes last week to cheer him up (Masters dissertation- say no more), and here's how they turned out:


Yum! I took the recipie from the Hummingbird Bakery Cupcakes and Muffins book, and I think it they turned out pretty nice! They tasted lush, despite the fact that Strawberry is probably my least favourite berry. Mr Claw loved them too, and said that next time, I was to bake cupcakes that I wanted! (Oh! How generous!)

It was after I made these cupcakes that I realised I could do a really simple, but effective nail art design based on the strawberry. I had recently bought some new nail art pens and hadn't taken them for a test drive yet, and every nail polish lover has a basic red creme so I created these designs:-


Not bad, eh? As I said, these are really simple designs, but I think they are effective and eye catching. In hindsight, I'm not so sure of the middle finger pink strawberry, as I think I should have stuck to the primary colours. I love the thumb though! Tasty!

Here is a list of all the lacquers I used to create this look: Barry M Nail Paint in Matte White, MUA Cosmetics Nail  Varnish in U & I, Rimmel Lycra Pro in Show Off, Nails Inc Nail Varnish in Milan, Red, Green and Yellow Nail Art Pens (I got mine from Argos!)

What do you guys think? Let me know!